Ever since reading about guerrilla gardening I’ve been thinking about boxes. Big boxes, little boxes, boxes full of flowers and boxes full of vegies but I’ve had this niggling thought in the back of my head. It’s that voice that says, “yeh cool, more garden space to add to the current amount you struggle to keep up with”. The risks of this became all the more clear as I walked up brunswick street past some beautifully designed 1m square planter boxes complete with incorporated seats that housed a wide range of sterile sand, litter and cigarette butts.
But our mix of stubbornness and optimism wont be be shaken that easily. It occurs to me that there are a couple of problems here. The first is you have to have someone to have sufficient ownership of the thing, and value it enough to look after it. The second is that the standard format of boxes, particularly if they are to be placed outside of your own space. There has to be a way to to make care of these things easier, and I’m very excited to suggest that I may well have found it. I will actually have to once again tip my hat to the Garden fairy from the Windmill garden who, whilst discussing our plans for greening our nature strips offhandedly asked whether we plan to using ‘wicking bed’? Oh yeh I said and only later realised that I didn’t have the foggiest idea what she was talking about. I’ve rectified this situation.
A wicking bed uses the concepts of surface tension and capillary action and loads of other things that your year 9 science teacher would be appalled you don’t remember, to water plants from the bottom up. The basic idea goes like this. Water if given a ladder of sorts will works its way against gravity. If you don’t believe me put one end of a towel in a bucket of water and the other end over the side, leave it for a couple of hours and then mop up the puddle. We also waste an awful lot of water by watering from the top. Most of the water evaporates from the top and if there is enough water to wet the soil then some will actually go past the zone where the roots can access it anyway. So the concept of the wicking bed is that you build a reservoir of water under your garden bed (or in our case planter box), give it a structure (like sand or scoria) so that it can ‘wick’ up and then put the soil and the plants on top of it. If you’re still confused check out the video below.
There’s also a very thorough explanation at….. but I thought the first one has a nice mix of information, random enthusiasm and facial hair to warrant it getting first pick
So that’s the theory. Now to put it in to practice. A while ago I was gifted some pallets from a couple of neighbours in our street and have been meaning to make a planter boxes for some time. During another random conversation at CERES (a permaculture nursery near us) I was introduced to one of the urban bush carpenters (www.urbanbushcarpenters.org) who are trying to promote self sufficiency through a DIY approach. Turns out they have a couple of really useful pointers. The first is a word of advice on how to collect pallets that are safer (look for HT stamped on it, this stands for heat treated rather than chemically treated, though I’m still going to paint and line them). The second is a plan of how to make a planter box out of pallets (http://www.urbanbushcarpenters.org/designs–ideas.html).
So with these two pieces of knowledge I set off to make my box. I realised fairly quickly that as pretty as the pictures were it wasn’t going to work exactly as I’d thought so the plan was changed a bit but in essence it was to the plan. I chose to cut the pallets exactly in half which gave me two halves that look like the top one in the picture 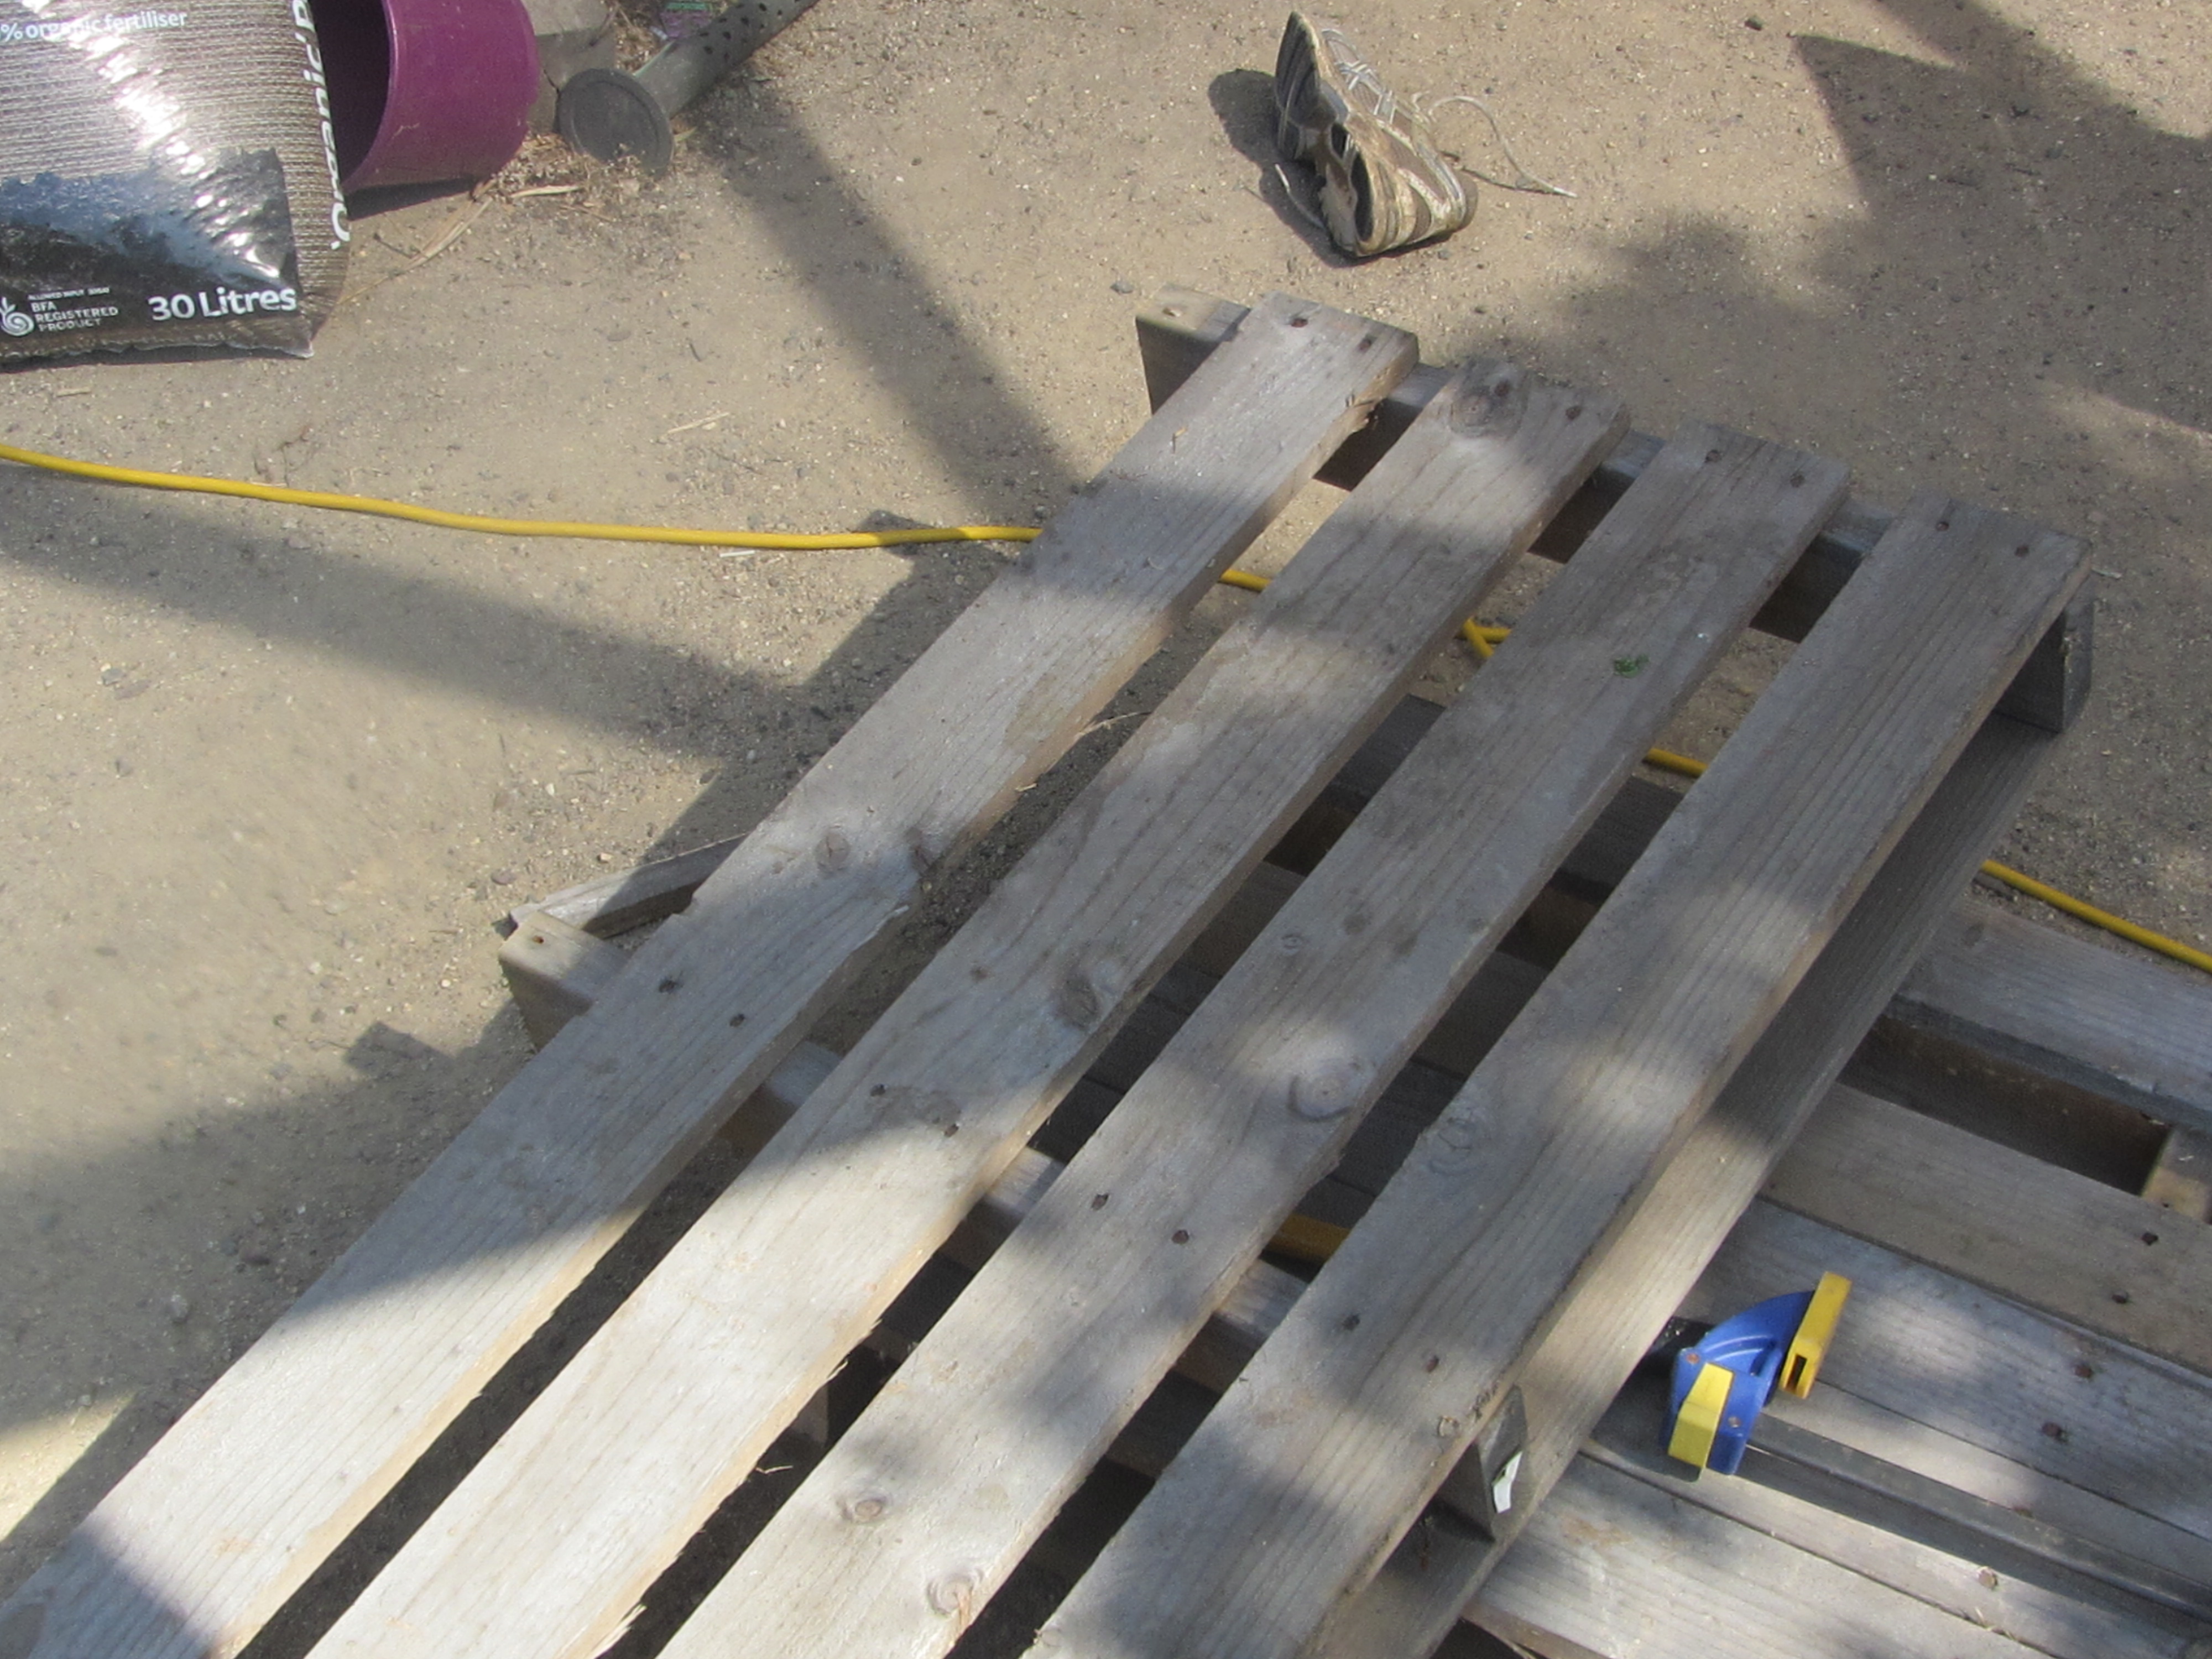 (okay so I’m still learning about taking photos while working). In theory, at least at this point of the proceedings this made me think that I was going to come out with two boxes. The plan suggests that you can just slot extra boards in to fill up the spaces. I may have the wrong type of pallet but this was clearly not going to happen so I had to remove all the boards which I did with a little skill and a lot of aggressive hammering! I started putting the board in together and finished up with a fairly solid base.
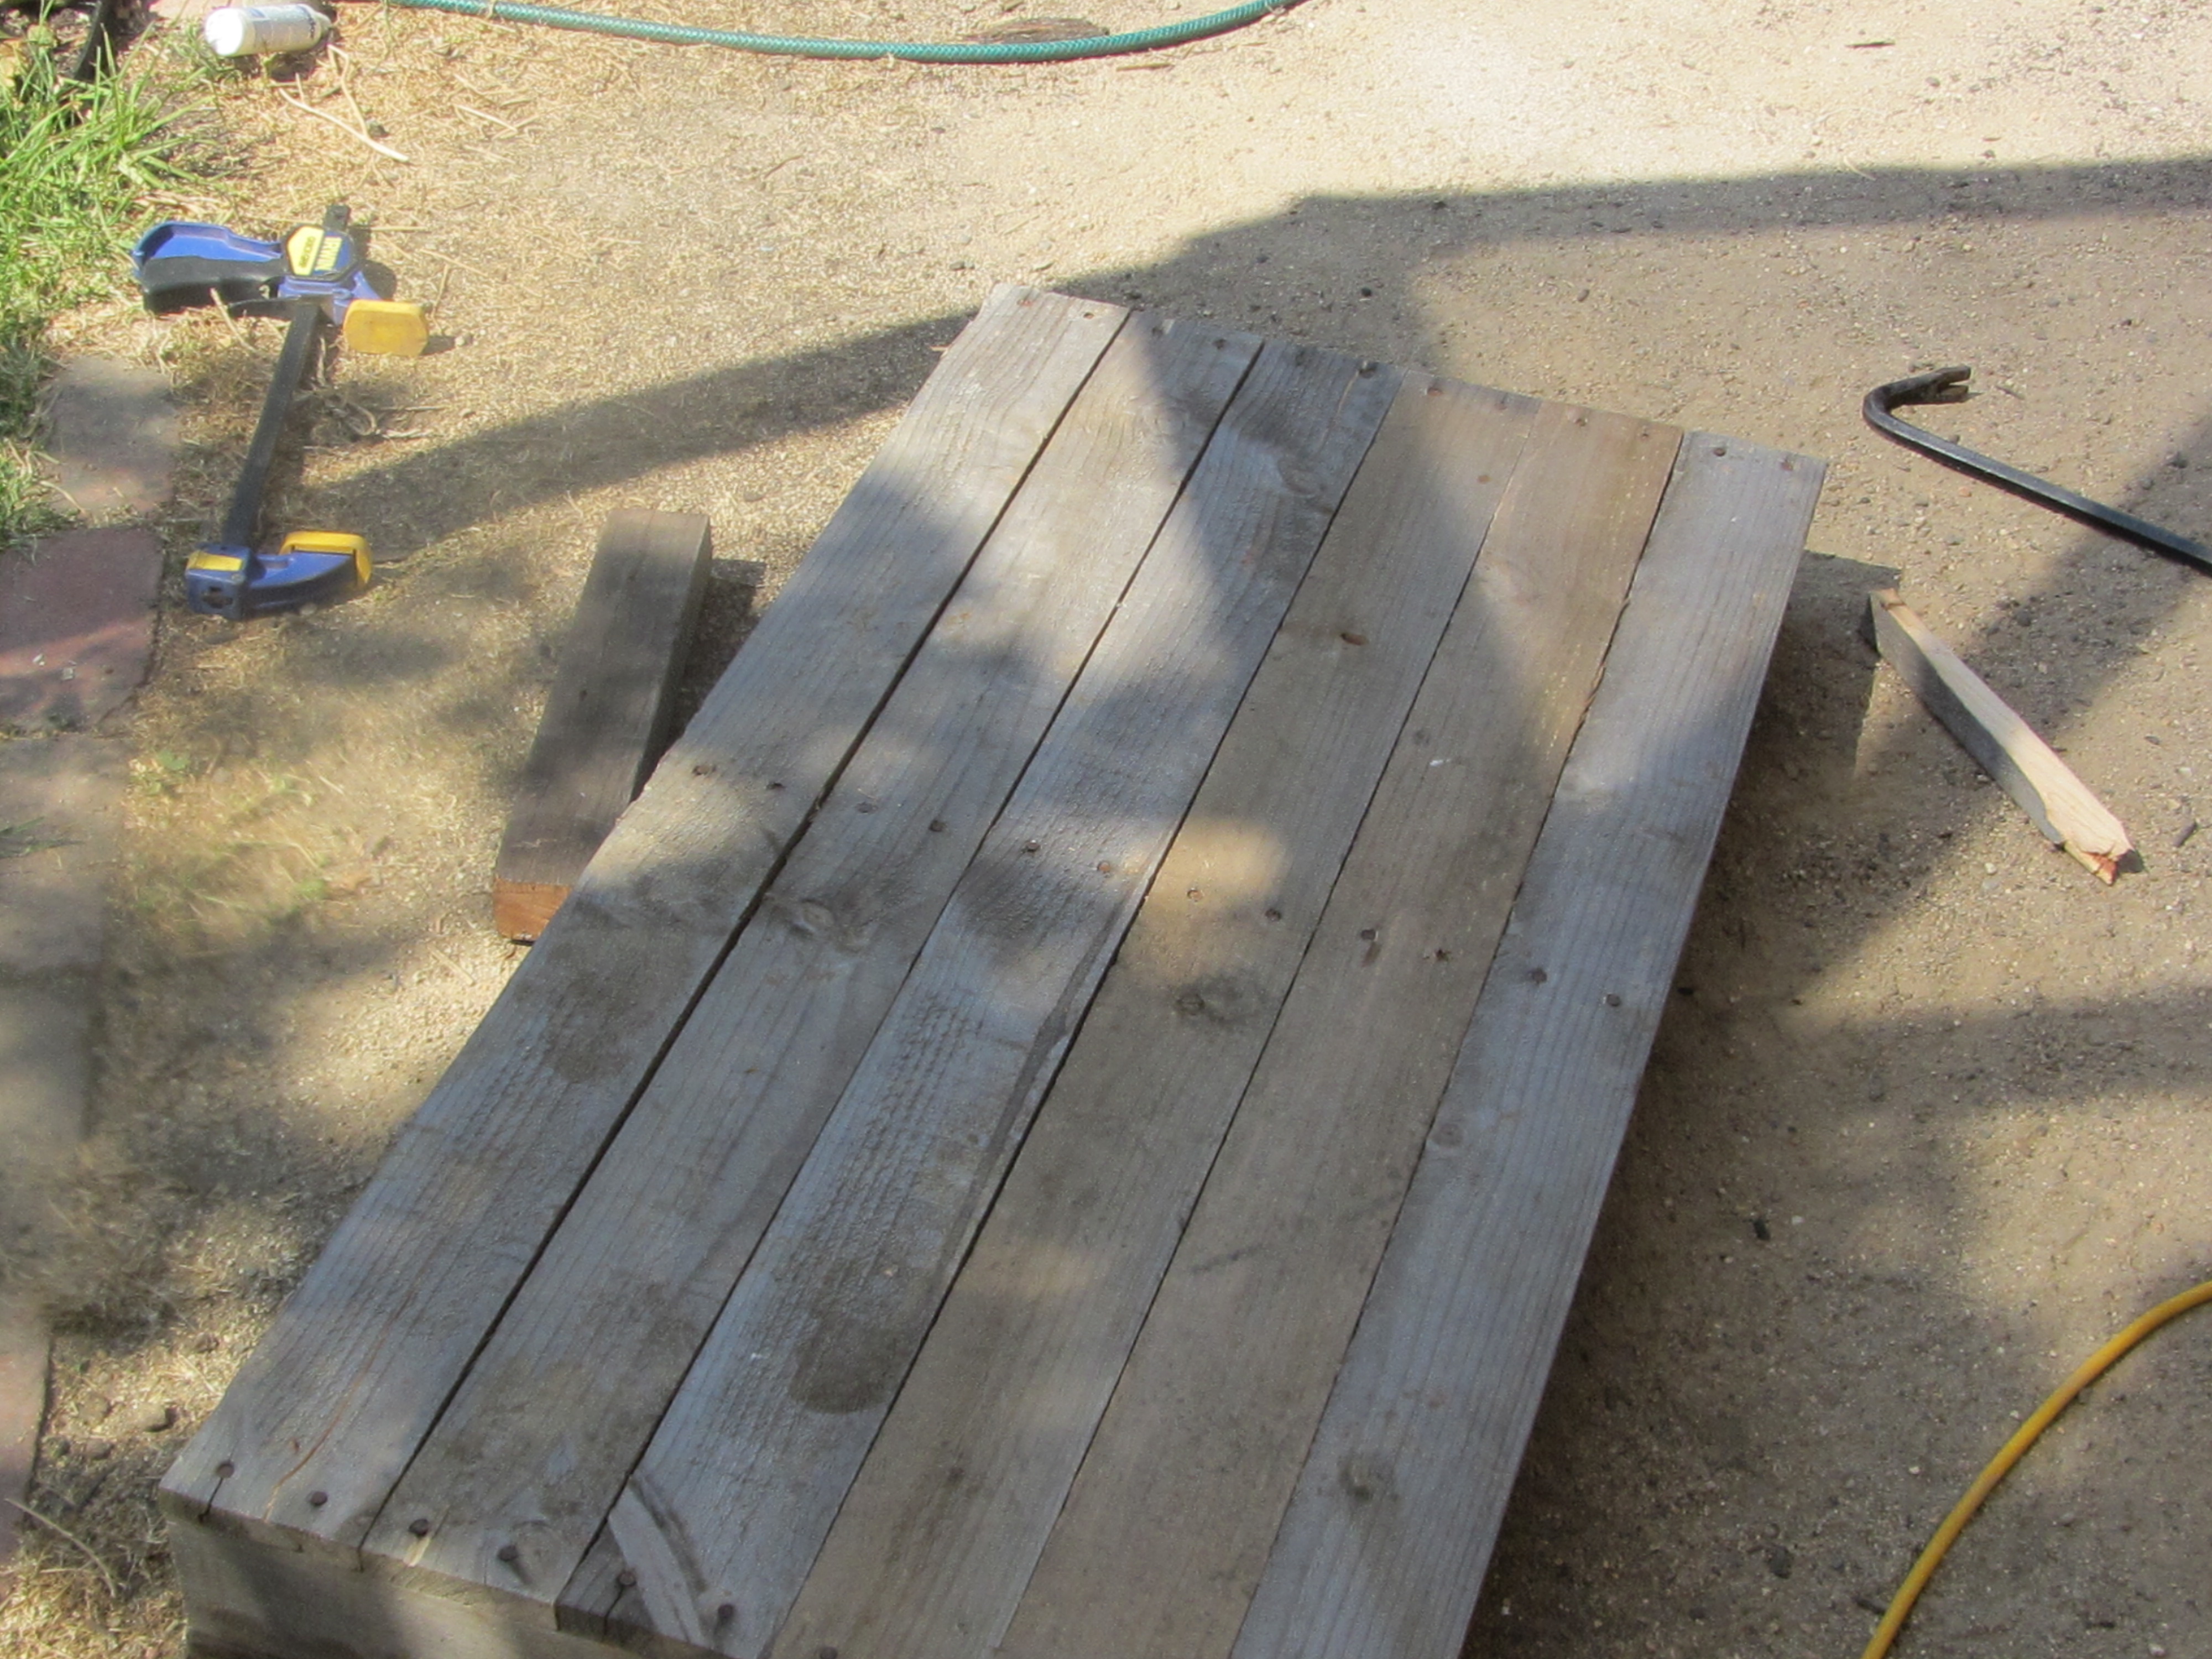
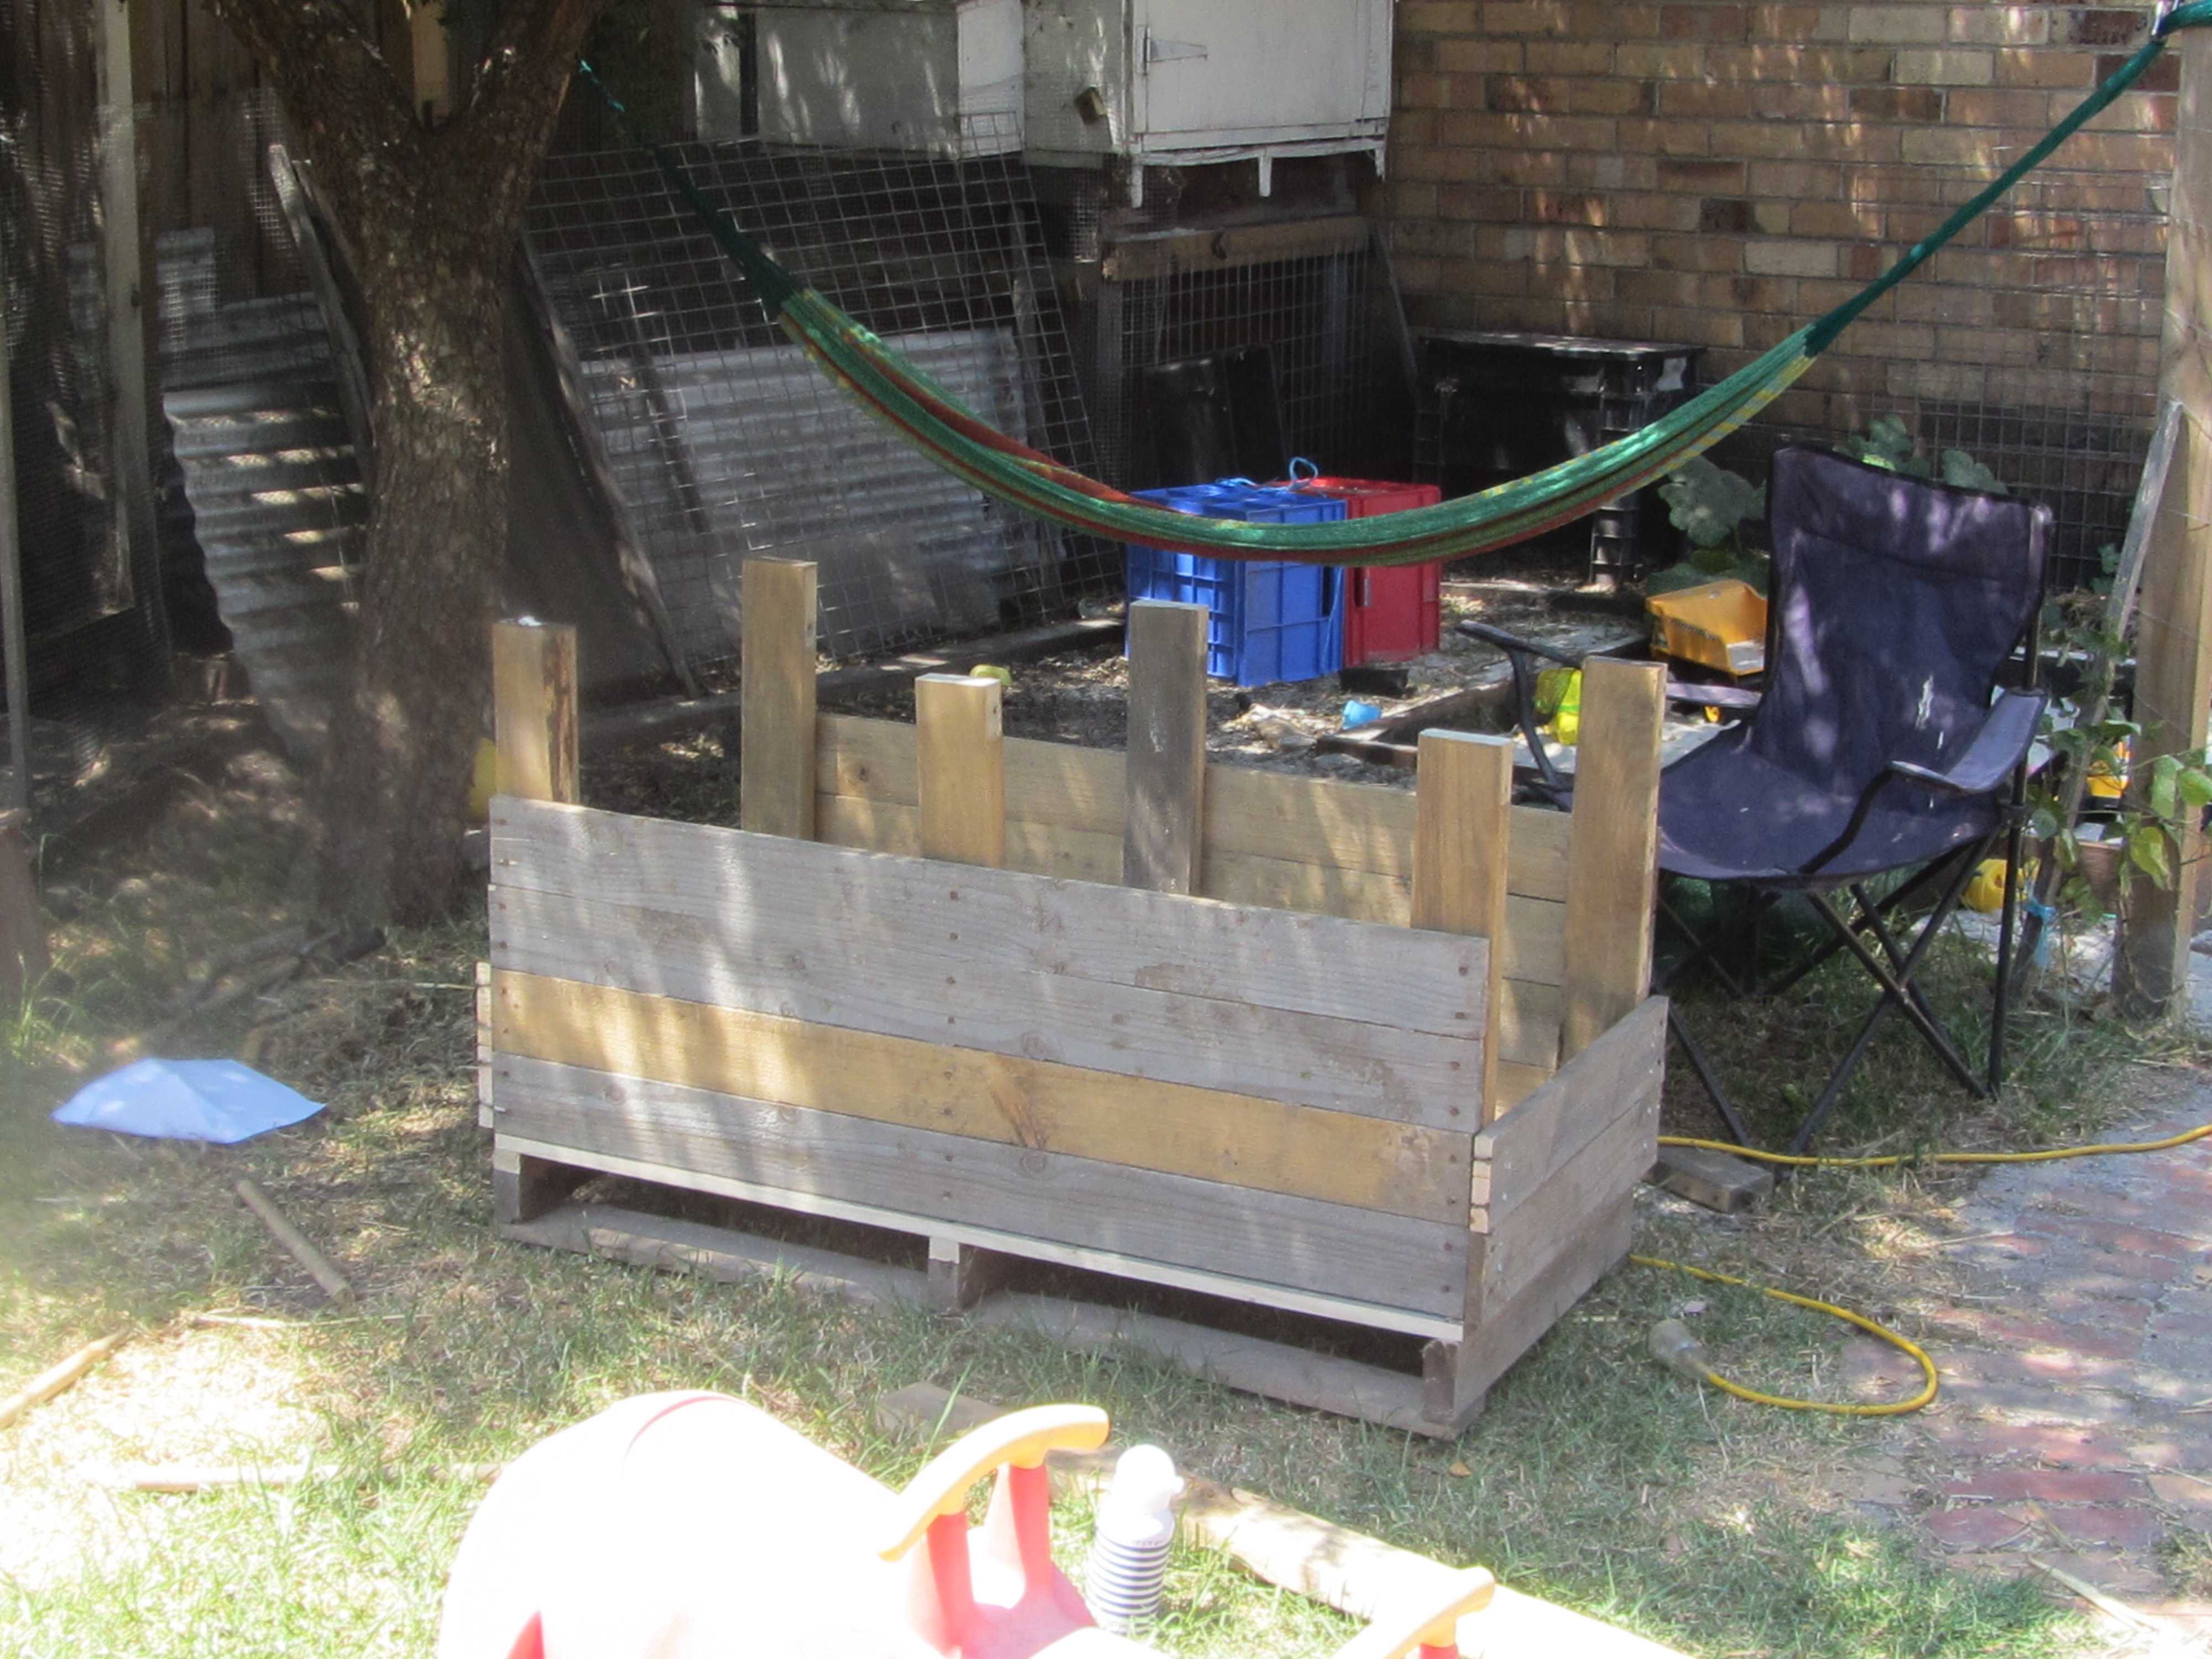
After a while I had a good looking base. A little bit more hammering, and the dismantling of my second pallet and I had a couple of sides. I was surprised how many pallets one would actually need to make this box. I did some calculations and worked out that I need just under three pallets for each box so I may need to make friends with some builders. I could have made a finished a couple of sides but thought that it would be better to bet an idea of how high it’s going to be and just keep building until I ran out of boards. So if it looks unfinished that’s because it is. That said I’m pretty pleased with what came out. It’s a really good size for a nature strip box or in fact any other location particularly if it’s going to be accessed from a single side and at 60 cm deep it’s a good height to be made into a wicking bed.
 The next step (and the next installment in this story) will be to actually make this into a wicking bed. I’m also going to restore a fairly sad looking 1/2 wine barrel as a wicking bed as a test case. The grand finale will be a street wide box building as part of our nature strip greening. We’re tossing up with the concept of digging down about 20cm and then just building hollow wooden rectangles to save on use of pallets, given the number of boxes we’re aiming to build. These will then go on top of the holes to make the whole 60cm bed. Whilst this will be a lot more digging it will mean that we would only need one pallet per box.
So that’s where we are at the moment and given some time this weekend I hope to be able to report a finished box and wine barrel shortly. Till then it’s riding slowly through alleys trying to find another pallet to finish the box off.
